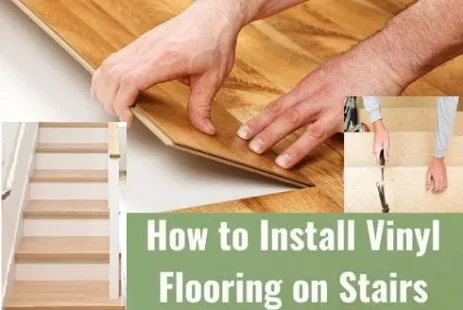
How to Install Vinyl Plank Flooring on Stairs
How to Install Vinyl Plank Flooring on Stairs
“Step-by-Step Guide”
Are you looking to give your stairs a fresh and modern look? Vinyl plank flooring on stairs is a fantastic option that combines durability, affordability, and style.
In this article, we will talk about the process of How to Install Vinyl Plank Flooring on Stairs, ensuring a seamless and professional finish.
Searching the step-by-step process of installing vinyl plank flooring on stairs. Achieve a professional finish with this easy-to-follow guide. Transform your staircase with durability and style. So, let’s get started!
1. What is Vinyl Plank Flooring on Stairs?
Vinyl plank flooring on stairs is a versatile and practical solution that mimics the appearance of hardwood while offering superior resistance to moisture, scratches, and wear.
It consists of individual planks with a self-adhesive backing, making it easy to install and maintain. With a wide range of colors and textures available, vinyl plank flooring allows you to achieve the desired aesthetic for your staircase.
2. Gather the Necessary Tools and Materials
Before diving into the installation process, gather the following tools and materials:
- vinyl plank flooring,
- measuring tape,
- utility knife,
- adhesive,
- trowel,
- pry bar,
- hammer,
- safety glasses,
- a vacuum cleaner.
Ensure you have everything on hand to streamline the installation process.
3. Prepare the Stairs
Start by removing any existing flooring, carpet, or adhesive from the stairs. Use a pry bar and hammer to carefully remove any staples or nails.
Once the stairs are clean and free of debris, vacuum the surface thoroughly to ensure a smooth installation.
4. Measure and Cut the Vinyl Planks
Measure each stair individually, taking into account the width and depth. Add an extra inch to the measurements to allow for any adjustments during installation.
Using a utility knife, cut the vinyl planks to the appropriate size, ensuring a snug fit on each step.
5. Apply Adhesive
Apply a thin layer of adhesive to the back of each vinyl plank using a trowel. Be sure to follow the manufacturer’s instructions for the specific adhesive you are using. Apply the adhesive evenly to ensure a secure bond between the vinyl plank and the stair surface.
6. Install the Vinyl Planks
Starting from the bottom step, carefully place the first vinyl plank onto the stair, ensuring it aligns with the edge. Press down firmly to secure it in place.
Repeat this process for each step, ensuring a tight fit between the planks. Trim any excess vinyl using a utility knife as needed.
7. Finishing Touches
Once all the vinyl planks are installed, use a roller or a clean towel to press down firmly on each step. This will help to ensure a strong bond between the vinyl and the stairs. Clean up any excess adhesive using a damp cloth or sponge.
8. Enjoy Your New Vinyl Plank Stairs
Congratulations! You have successfully installed vinyl plank flooring on your stairs. Take a step back and admire the transformation. Vinyl plank flooring on stairs not only enhances the aesthetic appeal of your home but also provides a durable and low-maintenance solution for years to come.
9. Conclusion
Installing vinyl plank flooring on stairs is a straightforward process that can be accomplished with a little patience and attention to detail.
By following these steps, you can achieve a professional-looking finish that will elevate the overall appearance of your staircase. So, why wait? Get started on your vinyl plank flooring project today and enjoy the benefits of a stylish and durable staircase.
Link Suggestions:-


